We are accustomed to using portable battery powered devices in most aspects of modern life. With some devices, the batteries are not accessible, rendering the device useless when they fail. Others — such as portable drills — have replaceable battery packs. When they fail, they can be replaced or rebuilt at considerable expense. Seldom is the rebuild option tractable for the do-it-yourself type person. However, I have one application where a very expensive battery pack can be easily rebuilt at a fraction of the replacement cost, returning the device to useful portable service.
The Tek 7x0 Series Scopes
One of the best portable devices on the electronics bench over the last 20 years was the Tektronix THS700 series (Figure 1.)
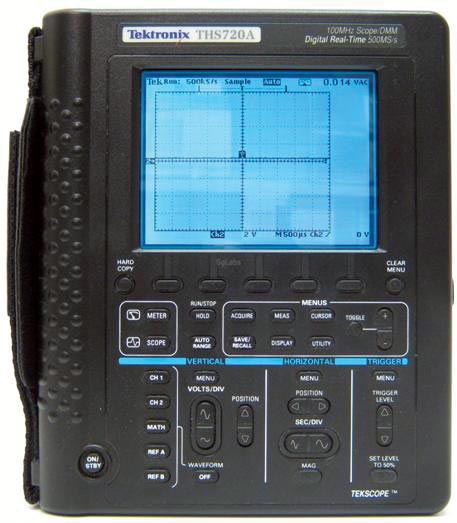
FIGURE 1. Tektronix THS720 scope.
Not only are the THS700s portable, but the dual channel inputs are independently isolated to 600V. This is quite valuable in debugging off-line electronics in a safe manner.
THS7X0 scopes can be had for $500-$1,000 on the used equipment market. However, the battery packs — four C-size NiCd cells — are only good for about three years. OEM replacements from Tektronix resellers run about $200, and after-market packs cost $80-$100.
Battery Pack Description
Most battery packs are fairly complex arrangements of tabbed buttonless sub-C size cells all welded together. The THS7BAT turns out to be much simpler construction. The 4.8V pack contains four C-size cells in a straight stack. Further, the pack is held in place in the scope by spring pressure similar to that of a flashlight; this works to our advantage in fabricating a rebuilt unit.
Figures 2a-2c show external views of several OEM and aftermarket battery packs. Note the metal band near the negative end. This circumferential terminal is connected by a metal strap to the positive end of the top battery and facilitates charging the pack in an external charger. At the bottom of the THS700 battery chamber is the negative terminal spring; the positive terminal is visible as a tab contact about 1.5” above the bottom. While the locking cap has a metal inner surface, there is no electrical connection to the scope at this point.
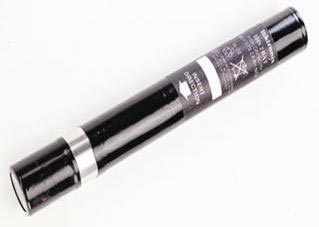
FIGURE 2A. OEM battery pack A.
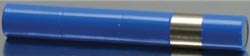
FIGURE 2B. OEM battery pack B.

FIGURE 2C. OEM battery pack C.
Disassembly
The only item we want to salvage from the old pack is the metal band with its connecting strap. Before removing, measure the distance from the bottom of the battery to the bottom of the band and the width of the circumferential band. To remove the band, carefully peel the strap from the positive terminal with needle-nose pliers and slide the band off the bottom of the battery pack. Properly dispose of the spent NiCd batteries.
Assembly
To build a new pack, you will need four new C-size rechargeable batteries. Don’t waste the effort using NiCd chemistry. Most newer NiMH batteries will work with any charger designed for NiCD or NiMH, and there is no memory effect.
The THS700 trickle charges at about 50 mA, so it can’t overcharge C-size cells.
Four C-size NiMH cost about $20 for 3,000 mAh capacity (Fry’s Electronics and RadioShack.) This is about 50% more mAh than OEM packs! You will also need about 8” of 1” diameter heat-shrink tubing.
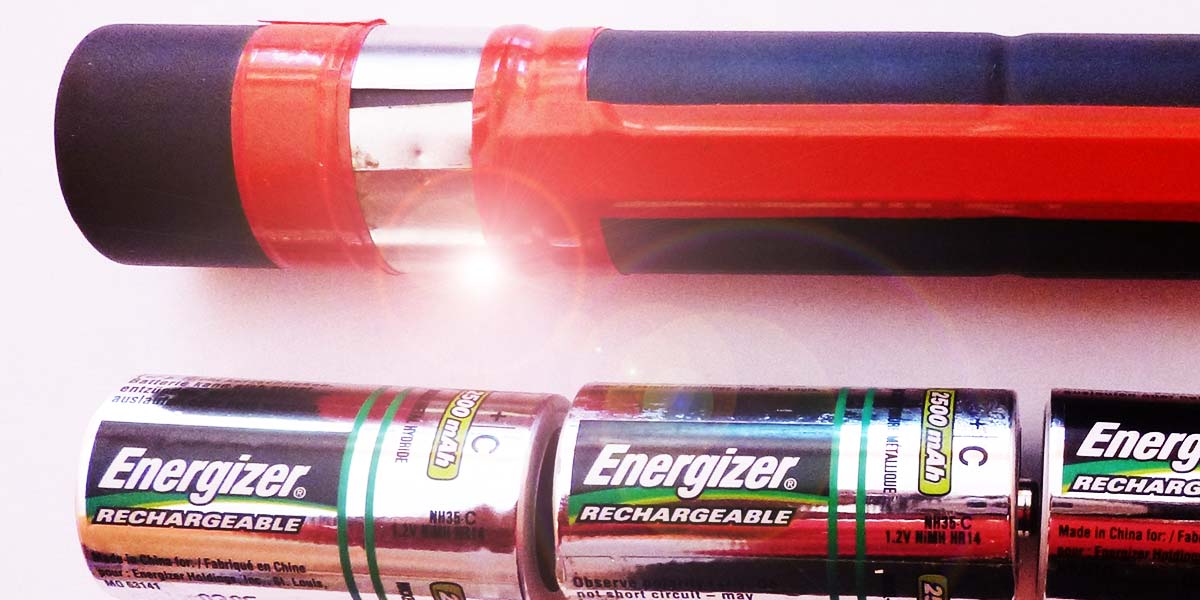
Figure 3 shows the preliminary assembly of the new batteries and the final assembly in the tubing. Slide the new cells into the tubing (paying attention to polarity), and trim the tubing to extend about 1/8” beyond the ends of the assembled batteries.
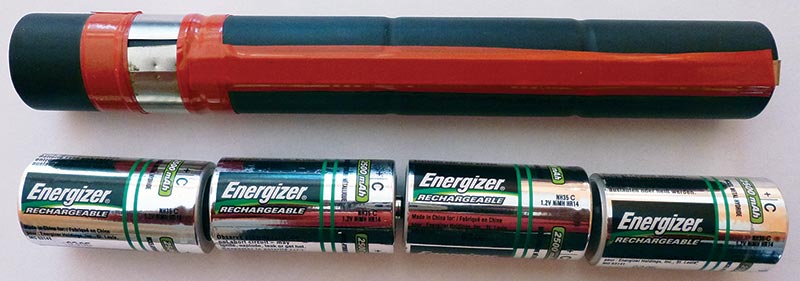
FIGURE 3. Rebuilt battery pack.
While applying a slight pressure to push the cells together, shrink the tubing carefully with a heat gun. The new cells are likely fully charged, so take care not to short anything!
The old band will not fit over the new shrink tubing, so cut the band open near the point where the circumferential ring strap is welded onto the linear strap. Fit the band over the negative end of the pack and locate it based on earlier measurements.
You want the circumferential strap to center on the internal side contact once assembled. Use vinyl tape to hold the band in place, overlapping the band by 1/8” or so at either edge. Refer to the photos, or better yet take some of your own prior to disassembly!
Now comes the only tricky part; see Figure 4a for reference. With the band positioned at the bottom, the strap must be soldered to the positive end button of the top battery.
With a hot soldering iron, quickly wet the top button with solder. Next, fold the strap over to position the contact point. Wet the strap contact point with solder, but do not solder the button yet. You want to insure wetting on the strap first. You may need to roughen the surface a bit.
When satisfied, quickly solder down the strap to the button. Four hands can be a big help! A length of tape along the strap will hold it down. Figure 4A shows the finished positive end of the rebuilt pack, while Figure 4B shows the negative end.
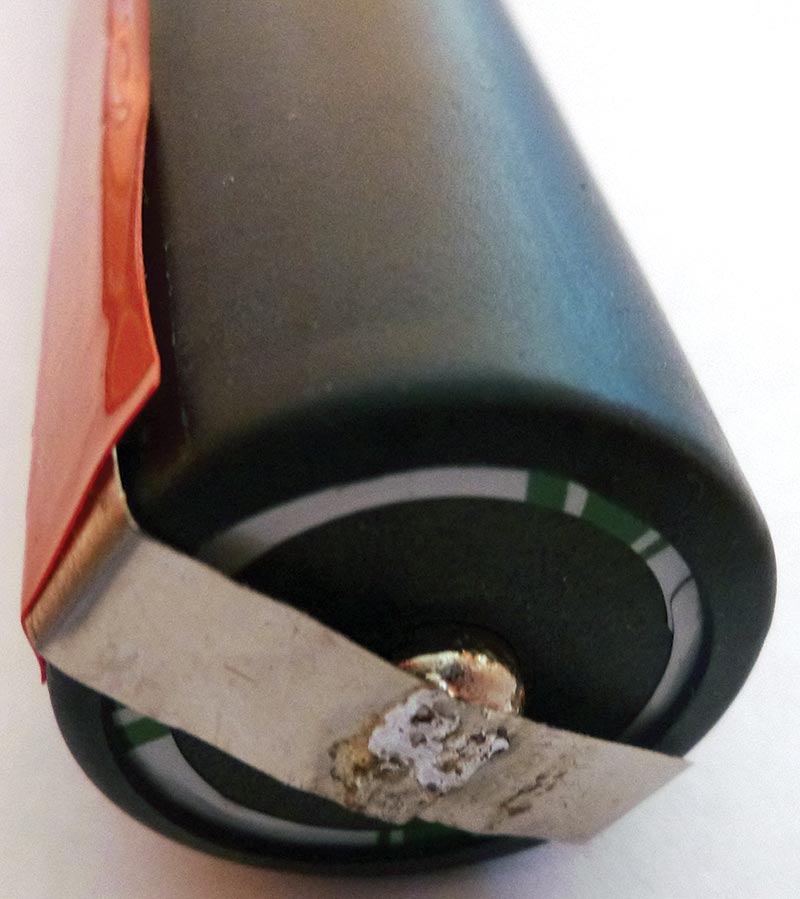
FIGURE 4A. Rebuilt battery pack positive end view.
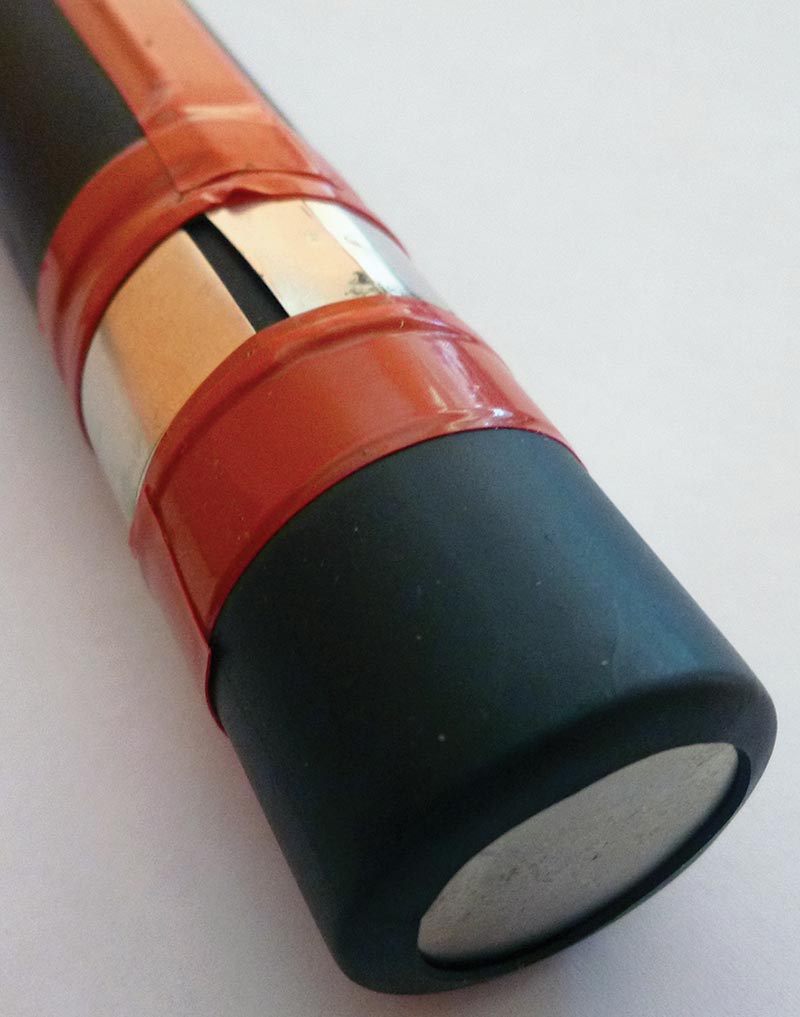
FIGURE 4B. Rebuilt battery pack positive end view.
Testing
Measure the voltage from the negative end to the band. It should be 4.8V-5V depending on the charge state. Gently fit the pack into the battery chamber.
The fit is certain to be tighter than the OEM battery, but it should fit fine. Position the cut in the band away from the internal side contact. Press and lock the cap into position.
Your THS700 model should power-up and run for several hours, so test out several charge/discharge cycles. Remember, the internal charger does not appear to be a “fast” charger, so allow 10 hours or more for a full charge. Figure 5 shows the new battery pack inserted into the scope.
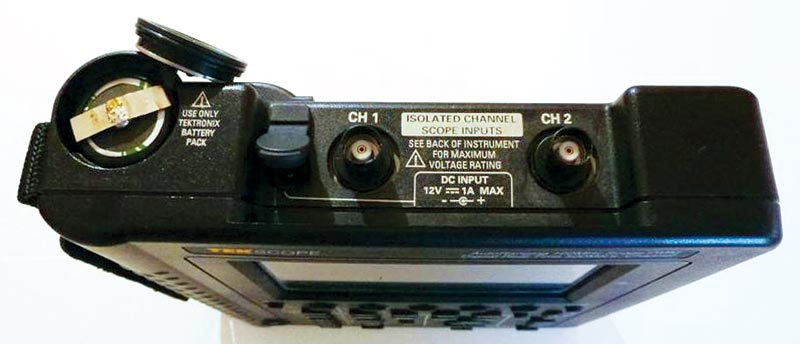
FIGURE 5. Rebuilt battery pack in scope.
Caveats
I haven’t tested the rebuilt battery pack in a Tektronix external charger. The batteries are not welded together, and the external charger applies no in-line pressure as does the THS700.
Finally, if your pack seems stuck in the THS700, extract by grabbing the soldered strap with pliers.
So far, I have rebuilt two battery packs and am very satisfied with the 3-4 hours of operational life between charges. NV