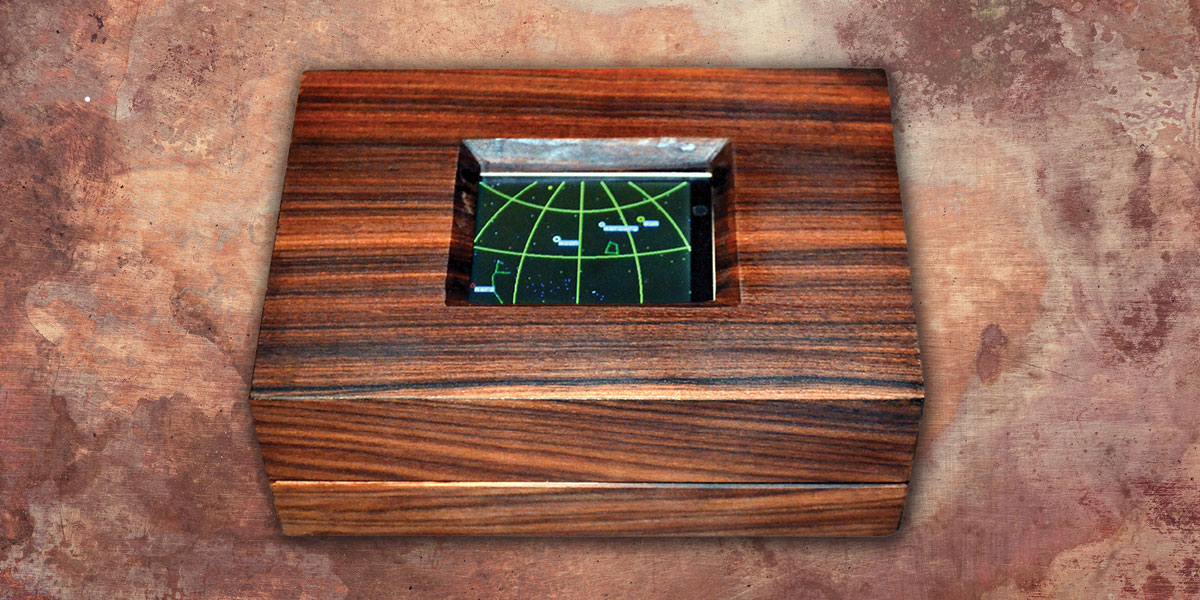
(Top photo is of the Steampunk Planetarium Clock created by Geoffrey Gill. From the November 2012 issue of Nuts & Volts)
Let’s say you’ve been designing and building electronics devices for some time now, and you’re good at it. You want to leave something behind — perhaps a gift to a loved one — that highlights the best of your work in the art. Assuming you have a circuit in mind, where do you go from here?
Based on my experience using and maintaining old ham radio gear, high-fidelity audio systems, and test instruments, both quality build and documentation are required for any electronic device to survive the test of time. By documentation, I mean including the schematic inside the device, and not as a separate booklet or computer file. I love maintaining the old tabletop radios with the schematics pasted to the inside of the cabinet. If your device is too small to hold the schematic, then fold the schematic and put it in a plastic pouch affixed to the inside of the device. Use a quality cotton-based paper in your printer.
By quality build, I mean don’t take shortcuts in construction. Do use high quality standard value components, and design for ease of maintenance. I hate it when I come across an old radio or other device that relies on glue instead of nuts, bolts, and screws. Adhesive feet are simple to apply, but after a year or two, don’t expect them to still be around — especially if the device is moved. Use screw-on feet, even if the enclosure doesn’t come with them.
The enclosure is another often overlooked aspect of a quality device. I love the Hammond extruded aluminum cases. They come in a variety of sizes and colors, and it’s easy to order etched aluminum front and rear panels to fit the standard sizes. These cases come supplied with stick-on feet instead of screw-on versions, so I simply toss the adhesive feet and apply my own screw-in feet.
Another quality issue is skimping on sockets and connectors. Go with gold plated IC sockets, connectors, and switch contacts. Tin contacts will save you a few cents today, but in 20 years, they’ll also cause the new owner headaches.
Power is another issue. I love old gear that runs on 120 VAC. There’s no scrounging around for a special low voltage AC or DC power supply with a coaxial connector of uncertain size. There’s also no brick to lose or chance that someone will try a different power supply brick that has a polarity or current rating that’s incompatible with the device. If you do opt for an external supply, then make certain the voltage and current requirements — as well as the polarity and size of the connector — are etched into your creation.
Designing for ease of maintenance is as simple as including test points on your circuit boards, and allowing generous margins around electrolytic capacitors and other devices that will eventually require changing. A super-compact design might impress — as long as the circuit doesn’t require attention. However, don’t assume that the person performing the maintenance in the future has your manual dexterity and control of a soldering iron.
Finally, pay attention to the aesthetics of your device. Sure, the specifications of your super audio amplifier might be impressive, but if you want it featured prominently on someone’s bookshelf, then it had better look the part. Otherwise, your device might end up in a cardboard box in the attic or in a yard sale. For example, I love the look of old receivers. Whether or not they actually work to specification is of secondary importance. Granted, looks aren’t everything, but that’s no excuse to avoid doing the very best you can on the user interface.
So, go ahead, create that heirloom. Once you’re done, consider sending in a photo to share with your fellow readers. NV