The Counting Box
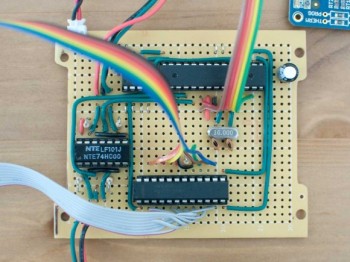
The electronics were first, since the size of the case would depend on the size of the finished electronics. I ordered these 4-digit seven-segment displays and this 10-position rotary switch from Mouser, and these video game buttons from Sparkfun. It would all be driven by a standalone ATMega 328 on a perfboard. The picture below shows the finished circuit right before I mounted it into the box.
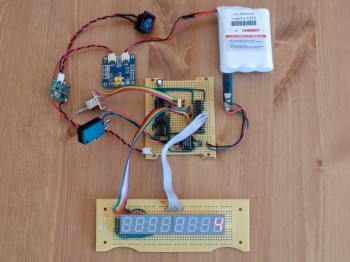
The display is driven by a MAX7219 chip, which can drive 64 LEDs or 8 seven-segment digits with only 3 output pins on the ATMega. Interfacing with this was easy, with the only difficulty coming from keeping track of which wire was which when linking to the LEDs. Counting up to 99,999,999 might take a while, but it’s good to have goals, right?
[Source] HahaBird- The Counting Box
Comments