If you’re anything like me, you love music. I’m not an audiophile, but music has always been a large part of my life. Tastes change as you get older, but music is soothing, relaxing, and can take your mind off the stresses in life.
On a recent trip to visit my mother-in-law, I stopped at my wife’s cousin’s house deep in the country. In a mostly collapsed barn filled with disintegrating furniture, something electronic resting on a beat-up easy chair caught my eye. Upon closer inspection, it looked to be an old turntable with a dusty and nicotine-stained dust cover (Figure 1).
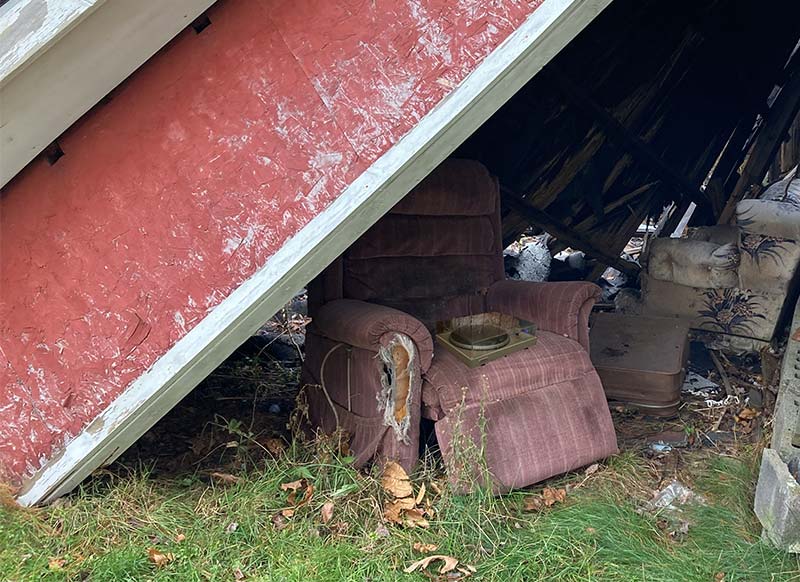
Figure 1 – A dirty vintage turntable rests on a forgotten easy chair in a collapsing barn. If you walked by and saw this, you would stop too, right?
Picking up the 20 lb unit, the red and white RCA cables and AC cord were hopelessly tangled together. However, at first glance, it appeared complete. My wife’s cousin arrived, and I asked if I could fix up the turntable as it had apparently belonged to her brother who had passed away 10 years earlier. She didn’t know how long it had been in the barn, but said I was welcome to have it.
Getting it safely back to my mother-in-law’s home, I was like a nine year old on Christmas morning. Wondering if I had pure gold or fool’s gold (lead), I did some research on the 1970’s vintage Pioneer PL-540 turntable. The direct drive turntable sold for $300-$400 in 1978-1979 (about $1389-$1852 in 2023 money) which was quite a lot of money back then. The tone arm’s rear weight wasn’t attached, but after a quick debugging (removing insect carcasses) and cleaning, I plugged it in.
Never plug in a vintage piece of equipment without thoroughly inspecting the interior for potential issues.
Normally, if at home, I would use a Variac™ or dim bulb tester to make sure everything was happy electrically, but seeing that everything looked okay, I plugged it in.
As soon as I unlocked the tone arm and moved it over the turntable, the orange light illuminated, and the turntable rotated. I unplugged it, packed it up carefully, and brought it 75 miles back to my home.
Again, don’t allow a vintage piece to be plugged in for an extended period without inspecting everything. This was just a 20 second test. Under controlled conditions, a slightly longer test should be done — building up the amount of time it’s powered on.
Not knowing how many months or years the Pioneer had been living in the elements, I did a very careful inspection. The turntable was resting on its rusted metal bottom as all four rubber feet had rotted away — something that was common with decks of this vintage (Figures 2 and 3).
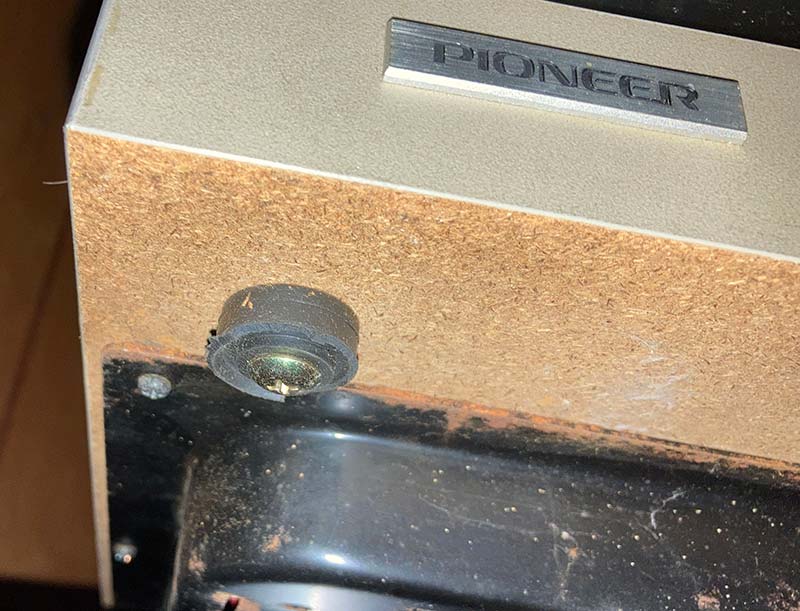
Figure 2 – When facing the turntable, a close-up of the front left rubber foot.
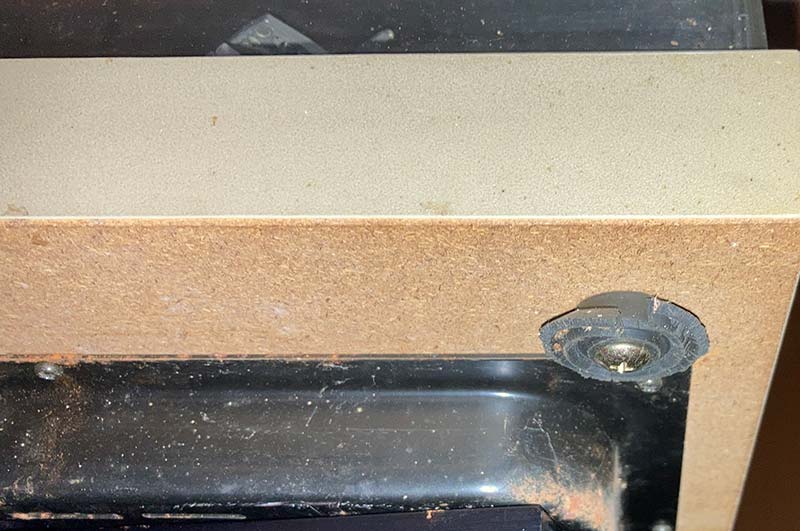
Figure 3 – The front right foot. The bottom of the turntable has spots of rust indicating that its residence was outdoors. If you notice this on a piece of electronic equipment, make sure you check inside before having the power on for more than a few seconds. If you notice rust on the edge of the metal (as seen to the right of the foot), there’s a high probability that water might have leaked internally.
Note in the photos that only a little bit of rubber remained under each screw. The slight rust on the black metal bottom meant that the turntable was exposed to the elements, and I needed to remove the bottom panel to ensure that no wildlife had chewed on the internal wiring (Figure 4).
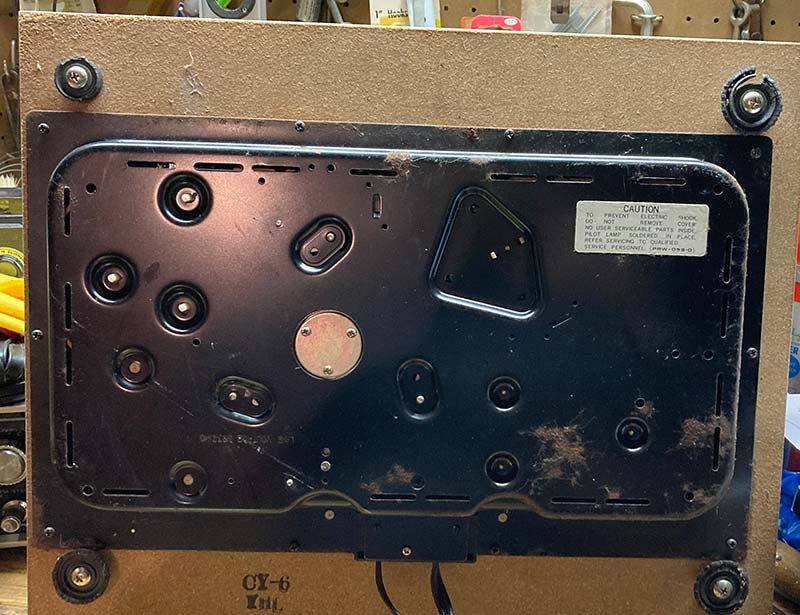
Figure 4 – All four rubber feet had disintegrated allowing the turntable to rest on its metal bottom.
Everything was intact underneath; nothing leaked or was cracked, so I closed it up.
The two RCA cables that connect to the amplifier were slightly corroded but easily cleaned (Figure 5).
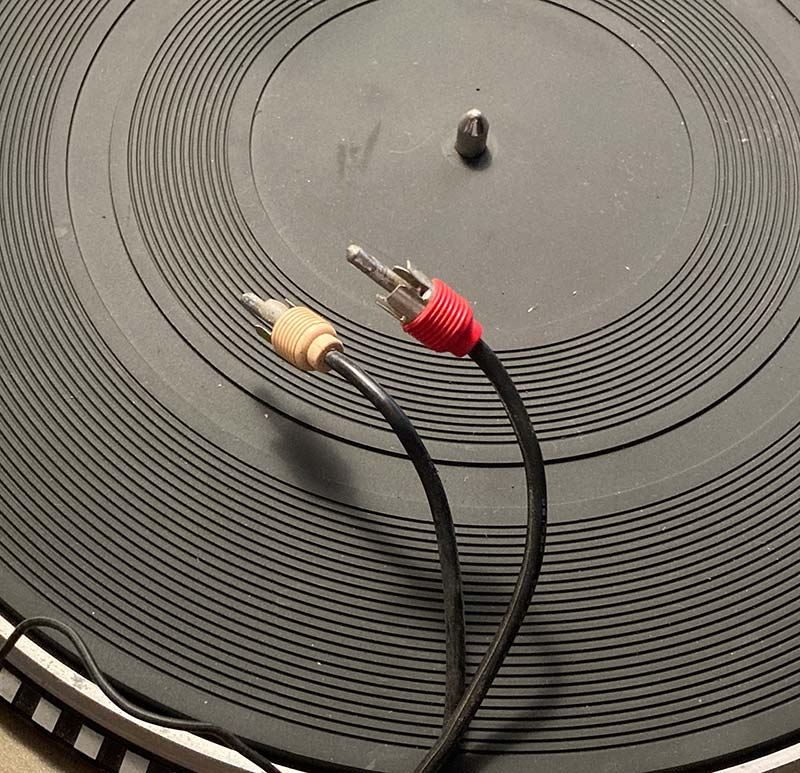
Figure 5 – The slightly pitted and corroded RCA phono cables were cleaned with alcohol before connecting to the pre-amp.
The Grado stylus had broken and the underside of the headshell was rusted (Figure 6).
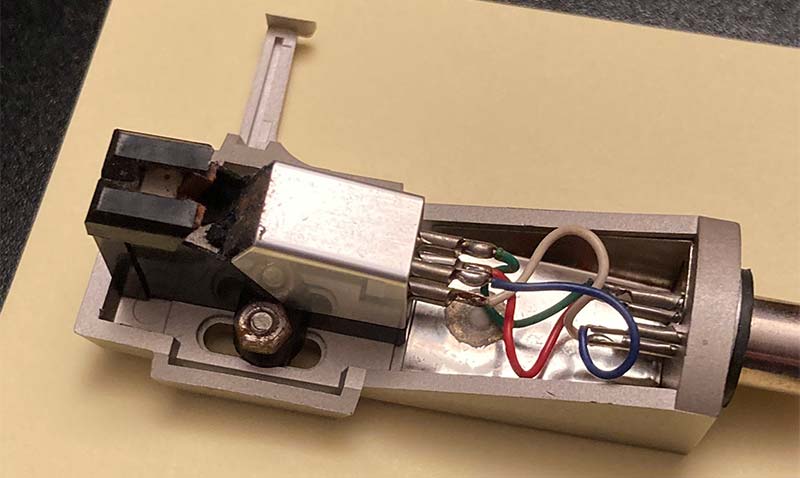
Figure 6 – The Pioneer headshell upside down. Note that all four wires are still connected to the cartridge. The Graco stylus had broken, and rust was in the crevices. The adjustment nut also had rust, potentially making its removal challenging. This type of thorough examination is important when determining the amount of time and money that may be needed to refurbish a unit.
The two adjustment screws on the top hadn’t been moved in years (Figure 7).
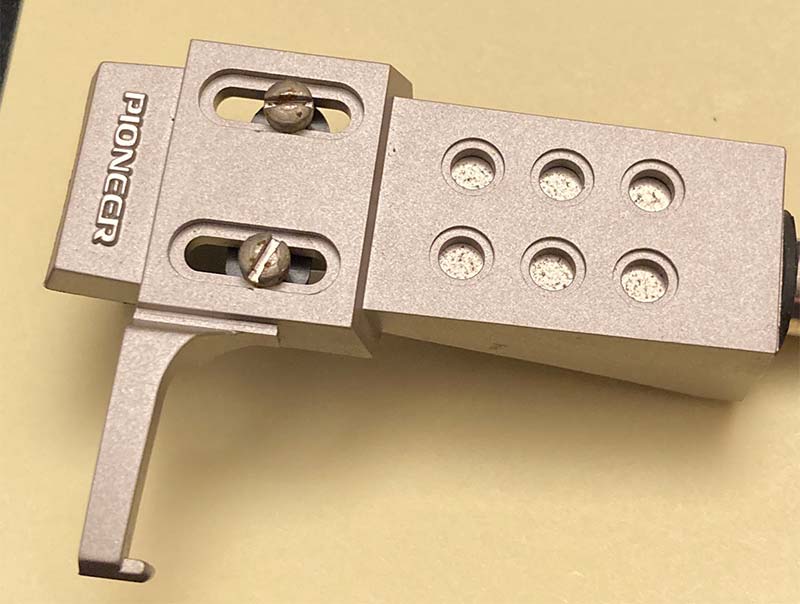
Figure 7 – The top side of the headshell. The previous owner had adjusted each screw which is noted by the chipped marks and rust.
I investigated prices of a new Grado stylus ($95-$135 at Walmart) but didn’t want to spend too much if there were other issues I hadn’t yet found.
As a side note, in my opinion, the most important element of a turntable is the stylus. Before you start sending me nasty notes, every single part of a turntable does add something to the overall sound. If I had to choose the most important element on the turntable, it would be the stylus. All working direct- drive or belt-driven turntables spin — not changing the quality of the sound that much. There may be less vibration depending on the motor, but the platter doesn’t change the sound in any way I could hear.
There’s a lot of debate on rubber, cork, acrylic, or metal platters as to which is the best — again, I’m not in that league with my hearing or budget. I feel the same way about the tone arm. Audiophiles might disagree, but my ears aren’t attuned to very small nuances in sound that the tone arm might help with in sound reproduction. Therefore, the stylus and its alignment (because it’s touching the surface of the record) are critical to sound reproductions. There are other important elements such as the pre-amp/amplifier and speakers, but these items help enhance the sound reproduced by the stylus.
I turned next to Vinyl Engine (www.vinylengine.com) for help. To access anything on their website, you must sign up for a free membership. I downloaded a Pioneer PL-540 Operator’s Manual and a Service Manual (free) by typing it in the search engine. I also put a question on their forum about a replacement stylus. Within an hour, I had several very helpful responses. I highly recommend Vinyl Engine if you have any questions about your equipment.
Not wanting to re-wire the headshell with my new stylus, I decided to purchase a complete headshell with the stylus attached. Doing a Web search, I came across my old favorite (Needle Daddy) on eBay. I have ordered from him in the past and have been very happy with his service. Using his opinion and that of the folks on Vinyl Engine’s forum, the Sanyo MG-09D Stylus and Headshell at $29.95 was an inexpensive solution. I could always upgrade to a Grado stylus later.
Coming back to the rubber feet issue, I found a resource also on eBay that offered replacement (not original) feet at roughly the same price as the headshell plus shipping. Just like on a human, feet are important, and they help with balance, stability, and so on.
When the feet arrived, I couldn’t budge the screws to remove the remnants of the old feet. Fortunately, my drill had the right amount of torque to extract the old screws, and with the included mounting screws and washers it made a huge difference in the stability and height of my turntable (Figure 8).
Figure 8 – Replacement rubber feet literally raised the level of my music! Not only do they look much better than the rubber stubs, but they come with all the mounting hardware.
When the new headshell arrived, I attached it to the tonearm and needed to balance it properly. I put the weight back on the rear of the tonearm with the goal being to have the tonearm “float” without it being too noisy or backend heavy. Also, set your anti-skating to zero.
Once balanced, lock the tonearm down. You’ll need to calibrate it by turning only the front number’s ring (not the rear) to zero. Next, determine the tracking force of your stylus. (This information was in the Operator’s Manual.) The Sanyo was two grams — just turn the front ring to two.
Even though the headshell and stylus came pre-aligned from Needle Daddy, I downloaded and printed a free calibration protractor from Vinyl Engine. I put the protractor on the platter — the headshell was perfectly aligned at the inner and outer edge of the turntable.
Before putting the new needle to vinyl, I wanted to make sure the revolutions of the turntable were accurate. I got the free app (on your iPhone or Android) called RPM; you place your phone on the turntable, choose a speed, and move the tonearm to start the rotation.
Twenty seconds later, you have the speed in revolutions displayed; 33.26 is pretty accurate for an unadjusted turntable that had been sitting in a barn for who knows how long! You’re given 10 free tests with the app, so I tried it on my Fluance RT81 turntable — 34 RPM.
For its price, the RT81 is fantastic, but my “barn find” was more accurate. Possibly direct drives are that way. I don’t know.
Before playing a record, the folks in Vinyl Engine’s forum mentioned that vintage decks like mine needed a pre-amp. My Fluance RT81 has a built-in pre-amp that could be turned on or off. Since I would be connecting the Pioneer to a newer amp that didn’t have a phono input, a pre-amp was necessary. (Walmart.com sells the PP400 ultra compact phono preamp.) The RCA leads from the turntable plug into the inputs on the PP400; another set of RCA cables would go from the pre-amp’s output to the line input on the receiver; in my case, a Pioneer VSX-1015TX audio/video multi-channel receiver. Plug in the AC adapter and a green LED will illuminate (Figure 9).
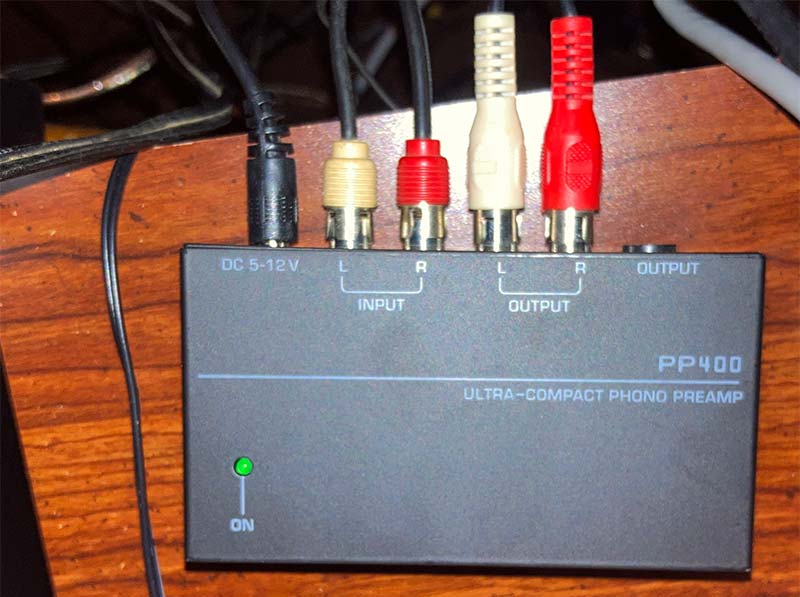
Figure 9 - The N-Audio PP400 ultra compact phono preamp. Basically, a pass-through box. The cables from the turntable plug in the input and the output cables go to the receiver.
Next came the moment of truth. The pre-amp was plugged into the CD input (no phono input), the tonearm gracefully dropped onto the vinyl, and I heard music — very tinny, too much treble, weird sounding music. Immediately, I lifted the tone arm and looked at the stylus. It was bent to the left so it wouldn’t track properly (Figure 10).
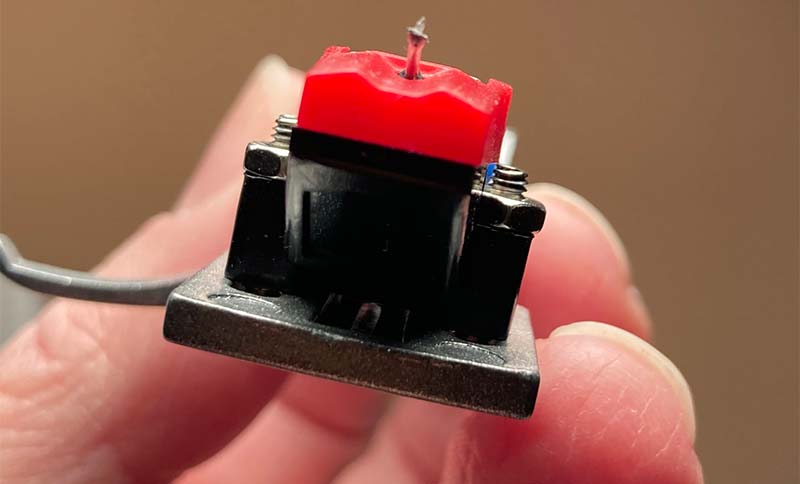
Figure 10 – Notice that the stylus was bent to the left. I sent this same image to Needle Daddy and he replaced the stylus at no charge.
I contacted Needle Daddy, and he had a replacement stylus in the mail the same day — no questions asked. I told you I liked Mr. Daddy!
Inserting the new replacement stylus, I tried “Take 2.” I had used the same record on my Fluance RT81 and now it was playing on my Pioneer. What a difference! The best way I could describe it was that the sound was cleaner, crisper, and had a mellower tone. Again, I love my RT81, but a mid-priced receiver that cost $650 in 2005 ($1005 in 2023) made a world of difference in sound. If I hooked up my RT81 to the same receiver, I’m sure it would sound better too.
Reviewing (the professor in me), the fact that the Pioneer PL-540 is a direct-drive turntable would have little bearing on the sound (in my opinion). The stylus, pre-amp, amp, and speakers were the deciding factors. In the future, I may upgrade to a Grado stylus, but I’m extremely pleased with the Sanyo and the marvelous sound from my new/old barn find. I’m now hooked on vintage.
This was indeed a great find. Some folks look for rare vintage cars (I would love that too), great art masterpieces for next to nothing (not my cup of tea), or bars of gold bullion (everyone wants that). Considering the Pioneer turntable had to be connected to some type of amplifier and speakers to fully enjoy the music it played, my next quest is to find out what happened to the rest of this vintage package. NV
Chuck Gloman is an Associate Professor and the Chair of the TV/Film Department at DeSales University. He may be reached at [email protected].
Resources
(At the time of this writing, all prices were accurate.)
Vinyl Engine – www.vinylengine.com. The home of the turntable. Free membership allows use of the forum, reviews, downloading of manuals and service manuals, protractors, and much more.
eBay – Pioneer New Turntable Replacement Feet PL-518, PL-540, PL-560, PL-516 + OTHERS Replacement Rubber Feet - https://www.ebay.com - $38.95 plus $8.40 shipping. Four rubber feet, washers, and screws.
Needle Daddy – New silver turntable headshell + Sanyo MG-09D cartridge + new needle; https://www.ebay.com/itm/290973859579 - $29.95 with free shipping.
Vinyl TV (YouTube) – Very detailed tonearm set-up for beginners; https://www.youtube.com/watch?v=WM-aIDwfrhc. Craig is EXTREMELY knowledgeable about all things vinyl. Subscribe free. It’s worth it!
World TT DB RPM App – Free app to determine true turntable rotation speeds. Ten tests free in trial mode.
Walmart.com – N-Audio PP400 ultra compact phono preamp; $30.14.